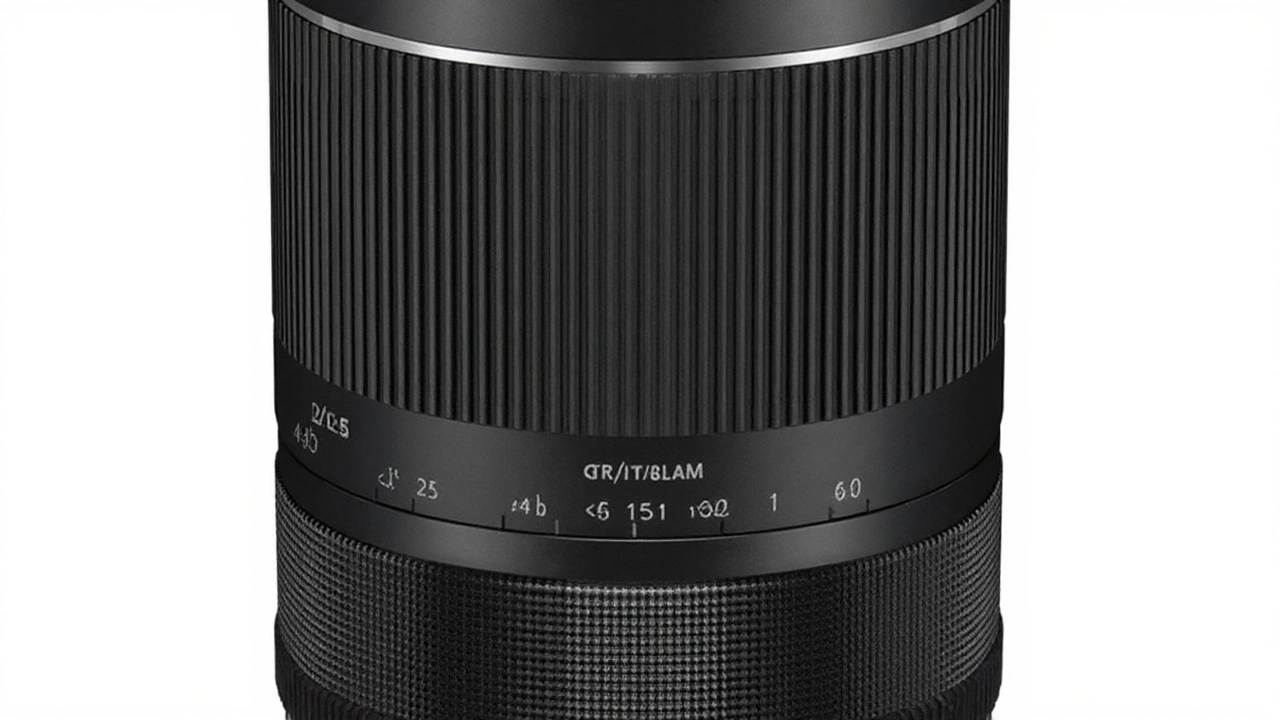
Image Stabilization: Keep Your Shots Steady and Clear
If you’ve ever watched a video that looked like it was filmed from a roller‑coaster, you know how annoying camera shake can be. The good news? Image stabilization is the secret sauce that makes handheld footage look smooth and photos stay crisp. In this guide we’ll break down what stabilization is, the tools you can use, and practical tricks you can apply right now.
What Exactly Is Image Stabilization?
At its core, image stabilization is any method that reduces the blur caused by tiny movements while you’re shooting. Those movements can come from your hands, a windy day, or even the inner mechanics of a lens. There are three main families of stabilization:
- Optical Image Stabilization (OIS) – built into the lens or sensor, it shifts glass elements to counteract motion.
- In‑Body Image Stabilization (IBIS) – the camera’s sensor moves on a mini‑gimbal, perfect for interchangeable‑lens systems.
- Electronic/Digital Stabilization – software analyzes each frame and crops or warps the image to smooth it out.
Each method has pros and cons, but they all aim for the same result: a cleaner picture.
Choosing the Right Gear for Your Needs
Not every camera or phone has the same stabilization power. Here’s a quick cheat‑sheet:
- Smartphones – most modern phones combine OIS for photos and digital stabilization for video. Look for “gyro‑stabilized” or “sensor‑shift” in the specs.
- DSLRs and Mirrorless – models with IBIS (like many Sony A‑series or Canon EOS R) give you flexibility even with older lenses that lack OIS.
- Action Cameras – GoPro and similar brands rely heavily on digital stabilization; a good gimbal can dramatically improve results.
- Gimbals and Tripods – when you can’t rely on built‑in tech, a three‑axis gimbal or sturdy tripod is the next best fix.
Invest in a camera that matches how you shoot. If you mostly film on the go, a phone with strong OIS plus a pocket‑size gimbal will cover most scenarios.
Now that you know the basics, let’s talk about actionable steps you can take right now, even if you’re using a basic device.
Practical Tips to Reduce Shake
1. Grip it right. Hold the camera or phone with both hands, tuck your elbows into your body, and keep your arms close. This simple stance can cut shake by half.
2. Use the timer or remote. Pressing the shutter introduces tiny vibrations. A 2‑second timer or a Bluetooth remote lets the camera settle before the shot.
3. Shoot in burst mode. When you need a sharp still, take several frames quickly. Odds are one will be blur‑free.
4. Stabilize your video. Turn on any “steady cam” or “hyper‑smooth” mode your phone offers. If you have a gimbal, balance it before recording.
5. Mind the lighting. More light lets you use faster shutter speeds, which naturally reduces motion blur. Add a portable LED if you’re indoors.
These habits are cheap, easy, and work across any device.
When to Trust Software and When to Go Hardware
Digital stabilization is great for quick social‑media clips, but it does crop the image and can soften details. If you need the highest quality – like a wedding video or a professional shoot – rely on optical or in‑body hardware first, then lightly polish with software.
For photographers, shoot in RAW and apply a modest amount of post‑process sharpening instead of over‑relying on in‑camera digital smoothing.
In summary, image stabilization isn’t a magic trick; it’s a mix of tech, gear, and good habits. Pick a device that offers the right type of stabilization for your style, add a simple grip or a tripod when possible, and use software as a finish line, not the main event. Follow these steps and you’ll see a noticeable jump in how steady and professional your footage looks.
Superzoom Lenses Are Back: One Lens for Travel, Portraits, and Wildlife
Once dismissed as compromise glass, superzoom lenses are back in demand. Modern designs deliver better stabilization, sharper results, and real-world flexibility that beats juggling multiple lenses. From travel to portraits and wildlife, a single lens now covers it. Here’s why photographers are switching—and how to get the best results.
View more